Electronic Shelf Label Installation: Guide for Retailers
Learn how to install electronic shelf labels, configure wireless base stations, bind products, and update digital price tags across retail stores.
Electronic shelf label installation is a key step in building an efficient digital pricing system for retail stores. Installing electronic shelf labels (ESLs) is far less disruptive than most retailers expect, but it rewards careful planning.
What Does Electronic Shelf Label Installation Involve?
An ESL system has three physical and digital layers, and installation covers all of them:
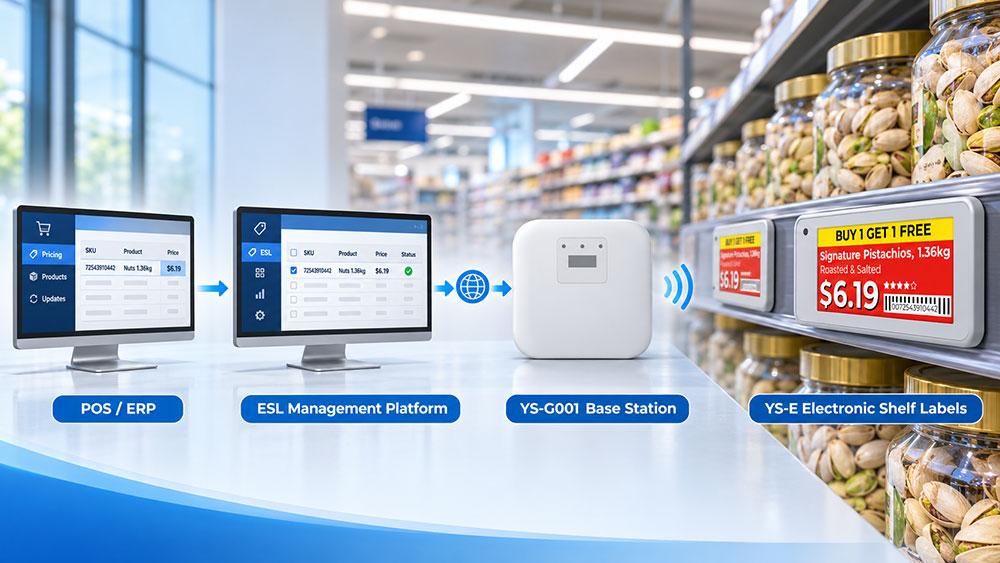
Infrastructure: base stations (also called access points or gateways) that send data to the labels over radio, usually mounted on the ceiling or on shelving.
Mounting hardware: rails, clips, or adhesive mounts that hold each label at the shelf edge.
Labels and software: the e-paper labels themselves, plus the management platform that links each label to a product and to your POS or ERP system.
If you are still comparing technologies, start with our guide to what electronic shelf labels are and how they work. If you are budgeting, see how much electronic shelf labels cost per label.
Before You Install: Planning Checklist
Most installation problems are decided before a single label is mounted. Cover these points first:
1、Count your labels. Estimate one label per SKU facing, plus extras for promotional positions and spares.
2、Audit your fixtures. Existing gondolas, wire shelves and even glass cooler doors can usually be retrofitted, but the mounting method differs for each. Kinter’s grocery fixture guide notes that rails, clips, adhesives, suction mounts and magnetic mounts are all used, and recommends purpose-built hardware in high-risk zones such as base decks, endcaps and cooler aisles.
3、Check your network. Base stations typically need power and a network connection. Confirm Wi-Fi or Ethernet availability, and decide who handles cabling.
4、Confirm data integration. Make sure the ESL software can connect to your POS, ERP or inventory system so product and price data flows automatically.
5、Choose an install window. Decide whether to install overnight, during closed hours, or aisle by aisle during trading.
6、Plan a pilot. Test one aisle or one department first to catch fixture and signal problems early.
Step-by-Step Electronic Shelf Label Installation Process
Step 1: Conduct a Site Survey
A technician checks the store layout, ceiling height, shelving types and any signal obstacles such as metal freezers or thick walls. The survey determines how many base stations you need and where they go. Vendors publish coverage guidance: SOLUM, for instance, specifies a gateway coverage radius of 25 meters for its labels, and labels must be on the same floor as the gateway.
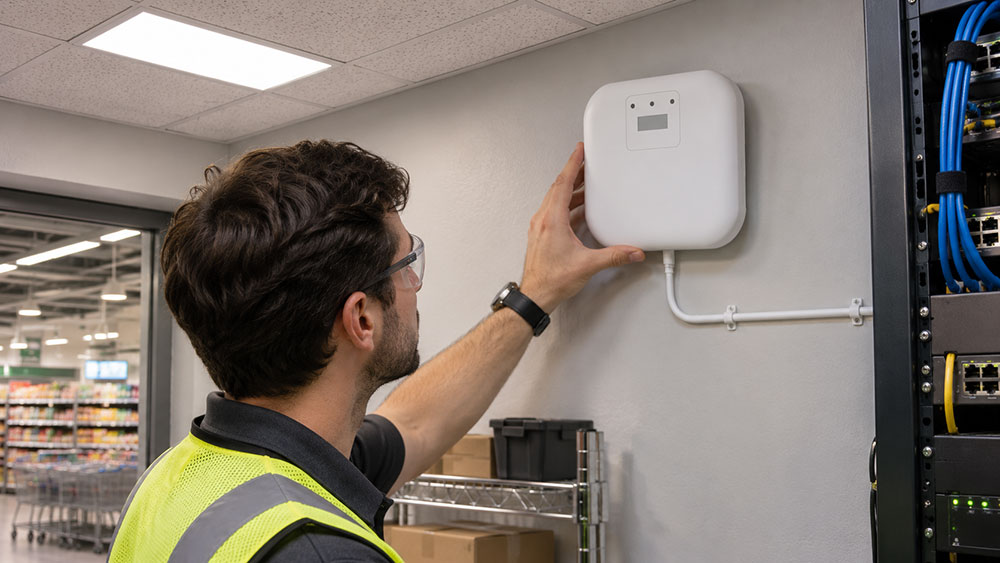
Step 2: Install Base Stations
Mount the base stations at the planned locations, connect power and network, and confirm they are online in the management software. Place them so that every aisle, including cold storage and back-of-store areas, falls within coverage.
Step 3: Mount Rails or Fixings
Attach ESL rails or clips along the shelf edges. Rail design varies by supplier and shelf type, so confirm compatibility early. Practical tips from fixture specialists:
Keep rails and clips clear of product barcodes.
Mount labels at consistent heights and tilts to reduce glare.
Use corrosion-resistant materials where disinfectants are used, and sealed or vented mounts in refrigerated displays.
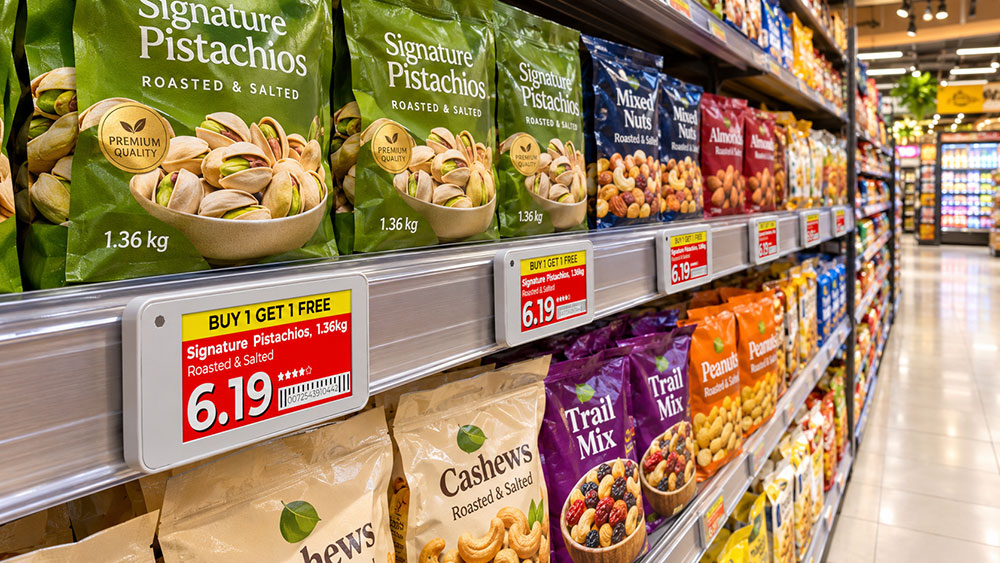
Step 4: Unbox, Inspect and Initialize Labels
Before mounting, check each label for scratches or damage and count what was delivered. Initialize labels inside the store, because initializing them somewhere else can add roughly five minutes of reconnection time when they reach a different gateway, according to YEESLO’s setup guide. Depending on the model, initialization is done by pressing a button or using an NFC controller or handheld device. A successfully initialized label shows its model, firmware and barcode on screen.
Step 5: Snap Labels onto the Rails
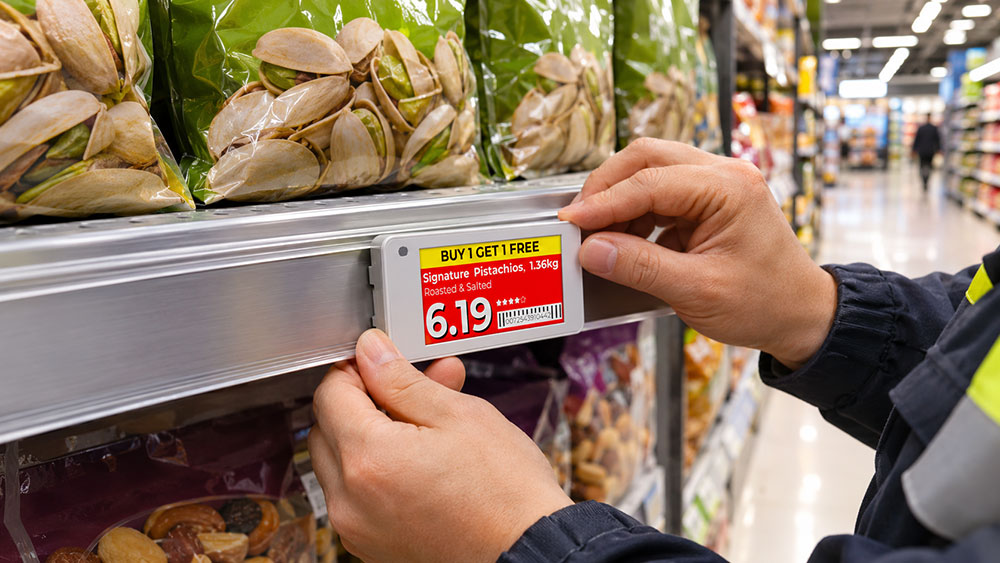
Hook the upper part of the label’s rear case into the rail and press the lower corners until it clicks. This step is fast and needs little training, which is why labor-heavy installs are mostly about volume rather than difficulty.
Step 6: Bind Labels to Products
Binding links each label’s unique ID to a product barcode (SKU) in the software. This is usually done by scanning the label code and then the product barcode with a handheld device. Some systems support bulk or automated binding using shelf maps, which saves significant time on large stores.
Step 7: Test and Validate
Check that every label refreshes, shows the right price, and stays connected. Run price-change tests, confirm barcodes still scan with handheld scanners, and walk the aisles to check legibility under real store lighting.
Step 8: Train Staff and Go Live
Show store teams how to bind new products, replace a faulty label, and trigger the LED flash for picking or replenishment. Keep spare rails, clips and a few spare labels in the backroom.
How Long Does ESL Installation Take?
Timelines depend on label count, store layout and how many installers are on site.
| Store scenario | Typical approach |
| Small shop (a few hundred to ~2,000 labels) | Often completed in a day or less |
| Large grocery store (10,000+ labels) | Frequently done overnight with a team |
| Multi-store rollout | Staged by region, usually after a successful pilot |
Case Study: 12,000 Labels Installed in One Night
Matvärlden, an independent grocery store group in the Stockholm area, Working with installation partner Strongpoint, the team installed about 12,000 electronic shelf labels in roughly six hours, in a single night, so the store was fully operational before it opened the next morning. The project had to cope with COVID-19 restrictions and a team of mixed installation experience. The store later became a test site where Pricer pilots new products.
What retailers can learn from this: overnight installation is realistic when rails, labels and the binding process are prepared in advance, and when the work is split into clear zones.
Common ESL Installation Mistakes to Avoid
Skipping the site survey, which leads to weak signal in freezers or back aisles.
Choosing the wrong rail for the shelf type, causing labels to pop off wire cooler shelves.
Covering barcodes with rails, clips or promotional grippers.
Ignoring cart impact zones on base decks and endcaps.
Initializing labels outside the store, which delays connection.
Using harsh cleaners that cloud or crack plastic parts.
Not piloting first, so fixture problems appear store-wide.
DIY or Professional ESL Installation?
Small stores can often handle installation themselves, since clipping labels onto rails is simple. Larger stores usually benefit from professional installers or the vendor’s own team, because speed, rail fitting and network setup affect the result. Specialist merchandising companies also offer installation services, which is useful for overnight deadlines. Whichever route you choose, ask what is included: base station mounting, rail fitting, binding, testing and training.
Frequently Asked Questions About Electronic Shelf Label Installation
How do you install electronic shelf labels?
You survey the site, install base stations, fit rails or clips, initialize the labels, snap them onto the rails, bind each label to a product, and then test before going live.
How long does it take to install electronic shelf labels?
It depends on size. A small store may take a day or less, while a large grocery store with around 12,000 labels has been completed in about six hours in one overnight case.
Can ESLs be installed on existing shelves?
Usually yes. Rails, clips, adhesives and magnetic mounts allow retrofitting onto many existing gondolas, wire shelves and cooler doors.
How many base stations do I need?
That depends on store size and layout. Some systems specify a coverage radius of about 25 meters per gateway, but a site survey gives the real number.
Do I need to close my store during installation?
Not always. Many retailers install overnight, though aisle-by-aisle installation during trading hours is also possible.
Do ESLs need wiring?
The labels are battery-powered and need no wiring. Base stations need power and a network connection.
How much does ESL installation cost?
Labor and accessories vary by store size and complexity. Typical market estimates place installation labor from a few hundred dollars for small sites to several thousand dollars for larger ones, so get a written quote.
Conclusion
Successful electronic shelf label installation comes down to preparation: a proper site survey, the right mounting hardware for each shelf type, a clear binding process and a pilot before the full rollout. With these in place, even a large supermarket can be converted in a single night. Ready to plan your project? Request an ESL installation quote. A well-planned electronic shelf label installation helps retailers improve pricing accuracy, reduce manual label changes, and streamline daily store operations.